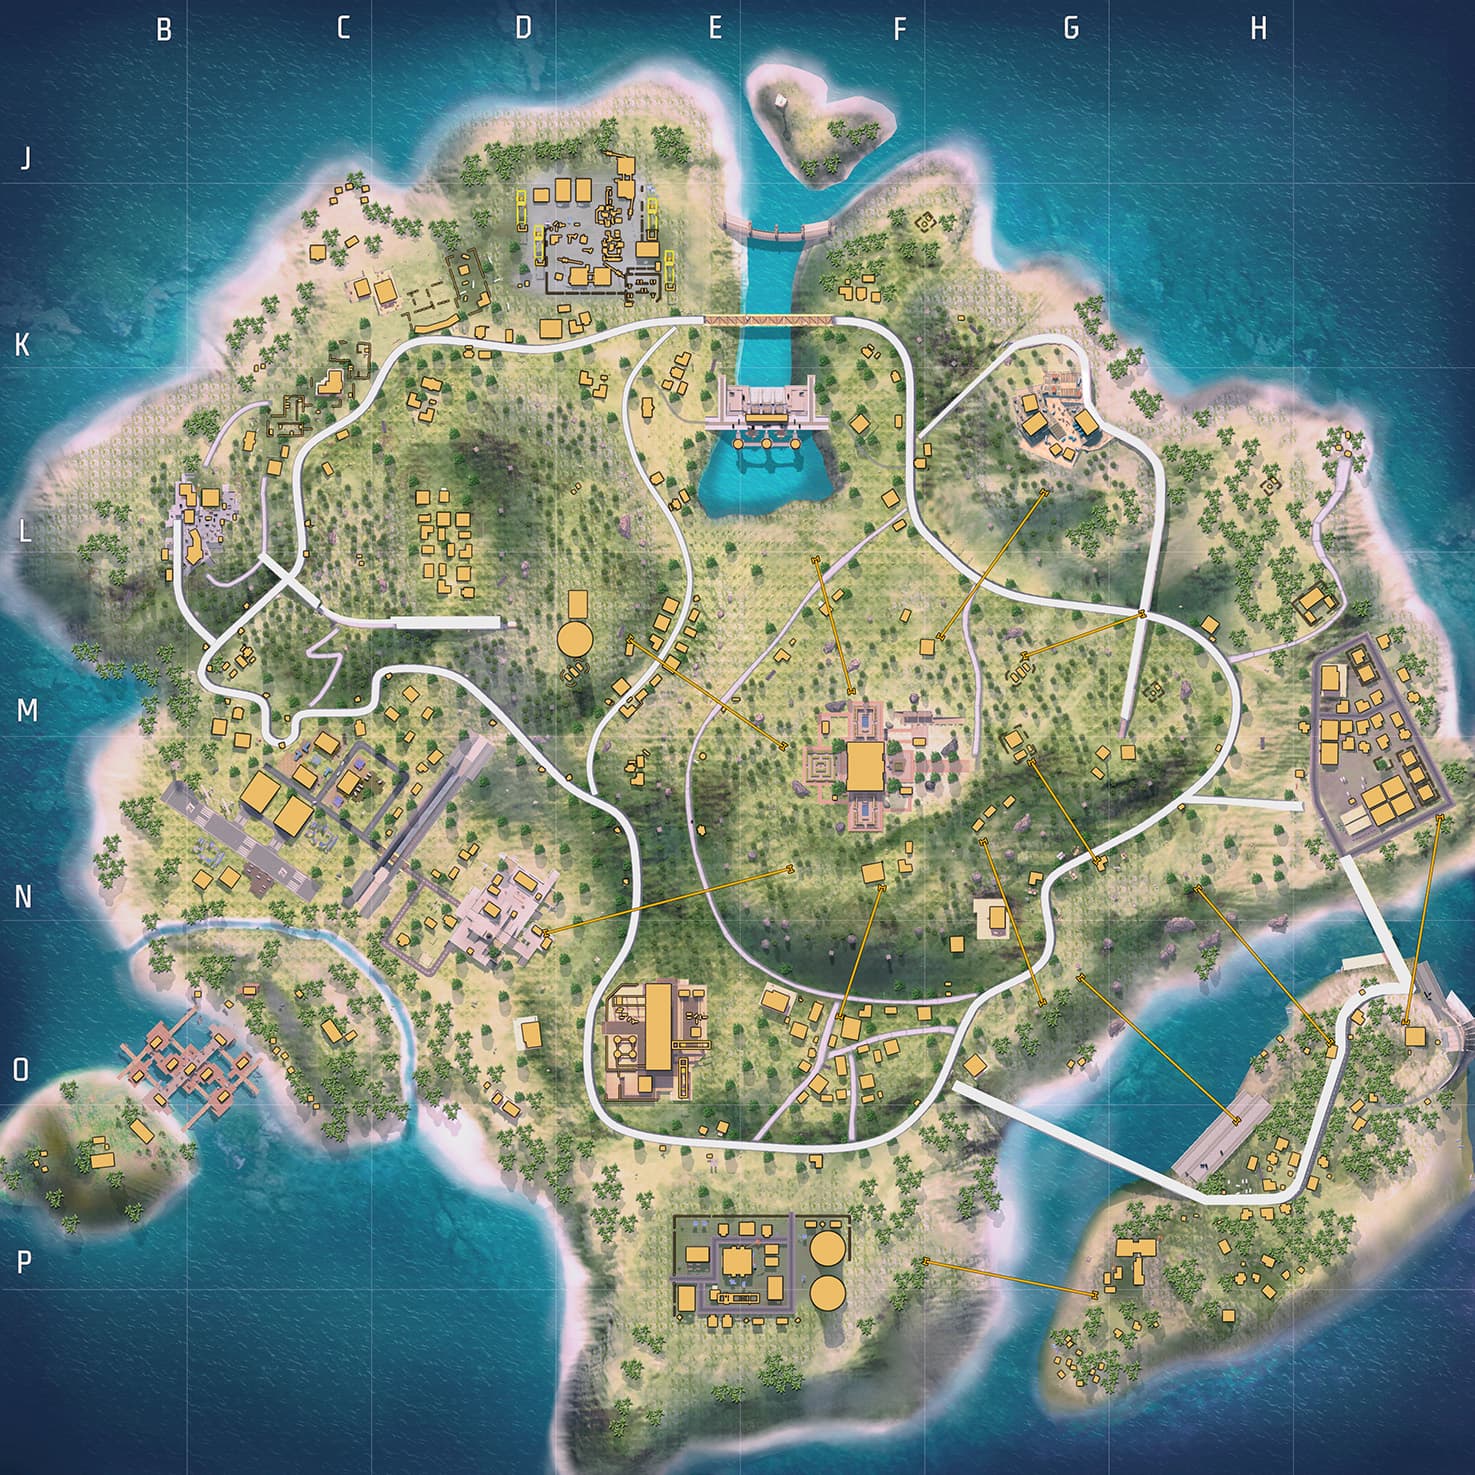
Key Takeaways
- Use the Safe Zone Tool (Phases Z1–Z6) with outside danger shading to visualize storm shrinkage and dead-zone corridors.
- Toggle Vending Machines (Shopping Cart), Arsenals (Warehouse), and Revival Points (Heart) in the top-right bar before plotting routes.
- Use Small marker sizing (10px radius) and 20-character custom labels (e.g., 'P1-Skyler', 'P2-Oscar') to keep tight compounds like Peak and Pochinok readable.
- Follow the competitive 4-color line standard: Green for Primary Rotation, Yellow for Plan B, Red for Aggressive Breaches, and Blue for Defensive Holds.
- Tap the top-bar Download button (PNG icon) to export a high-res image to your phone gallery; the panel 'Save' button stores plans in browser memory.
Why Modern Free Fire Squads Plan Rotations Before Dropping
In competitive Free Fire Battle Royale and Clash Squad tournaments, raw mechanical aim only wins isolated 1v1 duels. Consistently finishing in the Top 3 with high elimination points requires disciplined macro-strategy: knowing your exact split-drop buildings, securing 600–800 FF Coins for early Arsenal Keys or team revivals, and rotating into Phase 3 high ground before enemy gatekeepers lock down the choke points.
After analyzing feedback from dozens of IGLs and tournament players across South Asia, Southeast Asia, and Latin America, we built new tactical controls into MapLainer's strategy board. This complete guide covers how to use the Phase 1–6 Safe Zone tool, toggle Revival Heart & Vending Machine overlays, tag character combos, and export clean PNG boards on mobile.
Step 1: Calibrate Your Map with Revival Heart, Token & Arsenal Overlays
Before drawing a single rotation line, turn on the objective overlays in the top-right corner of the strategy canvas. Free Fire's modern meta revolves around the Token Economy—teams that route through two Vending Machines and an Arsenal vault enter mid-game with Level 3 vests, upgraded chip weapons, and extra Gloo Walls.
- Compass Icon (Landmarks): Toggles primary named POI labels (e.g., Peak, Brasilia, Refinery) so your callouts stay aligned.
- Shopping Cart Icon (Vending Machines): Displays exact coordinates for coin machines so you can plan token looting and mid-rotation buys.
- House Icon (Arsenals): Highlights locked Arsenal vaults so your IGL can chart a direct path once you buy or loot an Arsenal Key.
- Heart Icon (Revive Points): Marks solo/squad Revival Heart stations—critical for planning safe fallback paths when your entry rusher gets knocked early.
Test the Vending Machine, Arsenal, and Revival Point toggles live on Bermuda.
Open Bermuda Strategy BoardStep 2: Using the Safe Zone Tool (Phases Z1–Z6 & Danger Shading)
A generic circle isn't enough when you are simulating how a match collapses from a wide Phase 1 ring down to a contested Phase 5 compound. MapLainer's dedicated Zone tool lets you layer multiple zone phases on the same board.
How to Draw & Resize Phase Circles
Select the 'Zone' tool in the tool panel. You will see six Phase chips (1 through 6). Tap the phase you want to simulate, then press and drag outward from the predicted zone center on the map. MapLainer renders a dashed tactical ring with a subtle inner fill and a high-contrast 'Z1'–'Z6' badge at the top of the perimeter.
Need to test a hard north or south zone shift? Switch to the 'Select' tool, tap any zone ring, and drag the corner anchors to resize it or drag the circle to reposition its center.
When to Enable 'Shade Outside (Danger)'
When you toggle 'Shade outside (danger)' on your active zone, MapLainer tints everything outside that circle in translucent danger red while keeping all markers and rotation lines crisp above it. Use danger shading on your key transition circle (usually Z3 or Z4) to show your squad which outer roads are out-of-play during scrim reviews.
| Zone Phase | Map Tag | Primary Tactical Goal | Recommended Board Action |
|---|---|---|---|
| Phase 1 | Z1 | Split-drop looting & 400+ FF Coin collection | Place Small 'Drop' & 'Loot' markers + green loot path |
| Phase 2 | Z2 | Hit Vending Machine & breach nearest Arsenal | Draw arrow from drop to Arsenal + 'Rally' marker |
| Phase 3 | Z3 | Cross river/canyon chokes & claim power compound | Draw Z3 with Danger Shade ON + Yellow Plan B route |
| Phase 4 | Z4 | Gatekeep late rotators & secure last Revival Heart | Place 'Attack' (Swords) markers on ridge sightlines |
| Phase 5–6 | Z5 / Z6 | Final Gloo Wall progression & elevation control | Use White/Blue lines for smoke & Gloo Wall lanes |
Step 3: The Pro IGL Color-Coding Standard for Rotation Lines
One of our community's best tactical submissions summed up rotation planning perfectly: use distinct colors so every teammate knows whether a line is a safe rotation, an emergency backup, or an all-out third-party push. With 5 tactical colors available (Blue, Red, Green, Yellow, and White), here is the standard competitive setup:
- Green (#10b981) — Primary Safe Rotation: Your default path using natural ridge cover, ziplines, or low-traffic edges.
- Yellow (#eab308) — Plan B / Contingency Route: The alternate path your squad takes immediately if your scout spots a team holding your primary choke point.
- Red (#ef4444) — Aggressive Third-Party / Breach Line: High-risk push paths aimed at wiping a contested Arsenal or pinching two fighting squads.
- Blue (#38bdf8) — Anchor & Sniper Overwatch: Sightlines and defensive hold perimeters for your support/sniper player.
- White (#ffffff) — Zone Edge & Utility Pathing: Ideal for high-contrast Safe Zone rings (`Z1`–`Z6`) or vehicle extraction paths.
Step 4: Squad Role Markers, Small Sizing & Character Combos (Skyler, Oscar, Tatsuya)
When four players drop into a dense POI like Pochinok, Bimasakti Strip, or Brasilia, large icons can cover up the buildings you are trying to assign. MapLainer now includes a Marker Size selector (Small, Medium, Large) alongside custom 20-character labels.
- Use 'Small' Markers for Compound Splits: Set Marker Size to Small (~10px radius) when assigning exact houses on a drop spot so every rooftop and fence remains visible.
- Tag Character Skills in the Label Field: Many players asked how to mark characters like Oscar or Skyler on the map. Select the Marker tool, pick an icon (`Swords` for Rusher, `Shield` for Anchor, `Crosshair` for Sniper), and type `Oscar-Rush`, `Skyler-Break`, `Tatsuya-Flank`, or `Moco-Spot` in the Label field.
- Repositioning Markers Mid-Review: Switch to 'Select' mode and drag any marker to a new compound as you walk your squad through Phase 1 to Phase 4 transitions.
Step 5: Saving Your Plan vs. Downloading PNG to Your Mobile Gallery
A common point of confusion on Android and iOS browsers is the difference between saving a strategy project and exporting a picture to share in WhatsApp, Messenger, or Discord.
Frequently Asked Questions
How do I draw a Safe Zone circle on MapLainer?
Select the 'Zone' tool from the tool panel, choose a Phase chip (1 to 6), optionally toggle 'Shade outside (danger)', and drag outward from the center of your predicted safe zone on the map. Switch to 'Select' mode at any time to move or resize the circle.
Why isn't my saved strategy showing in my phone's photo gallery?
The 'Save' button in the tool panel saves your interactive strategy inside your browser's local storage so you can edit it later at /plans. To save a picture to your phone gallery for WhatsApp or Discord, tap the 'Download' button (tray with down-arrow icon) in the top-left bar of the map board to export a PNG image.
How do I delete a single arrow or marker without clearing the whole map?
Select the 'Erase' tool (Eraser icon) in the tool panel and tap directly on the arrow, line, zone, or marker you want to remove. You can also select an item with the 'Select' tool and tap the red 'Delete' button, or tap 'Undo' (Ctrl+Z).
How do I place character markers like Skyler or Oscar on the strategy board?
Select the 'Marker' tool, choose a role icon (such as Attack, Defend, Drop, or Rally), pick Small or Medium size, and type the character or player name into the 'Label' box (up to 20 characters, e.g., 'Oscar-Flank' or 'Skyler-IGL') before tapping the map.
How do I see Revival Heart points and Vending Machine token locations?
In the top-right corner of the map canvas, tap the Heart icon to toggle Revival Points, the Shopping Cart icon to toggle Vending Machines, and the House icon to toggle Arsenal key vaults.